Overview
In Project 2, we explore how to handle frequencies. From low pass filters to gaussian filters, there’s incredible ways we operate on images to sharpen or blur them. These initial steps can lead to something bigger, like blending together images to create something unique. Every process can be done meticulously and from scratch. One of the most rewarding parts of the project was constructing my own Gaussian and Laplacian stacks and using them to blend images.
Part 1: Fun with Filters
Part 1.1: Finite Difference Operator
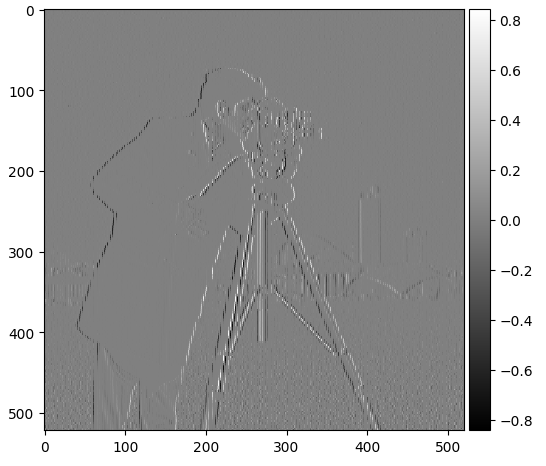
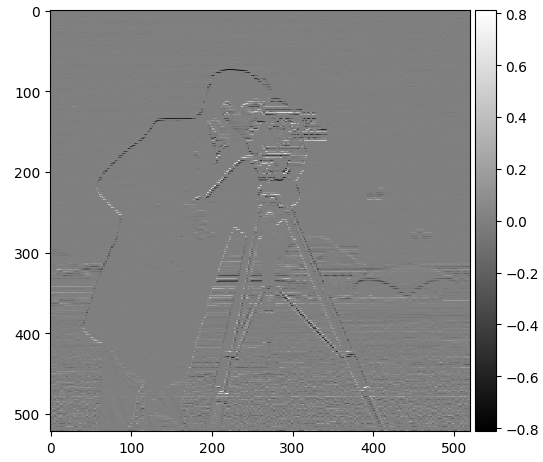
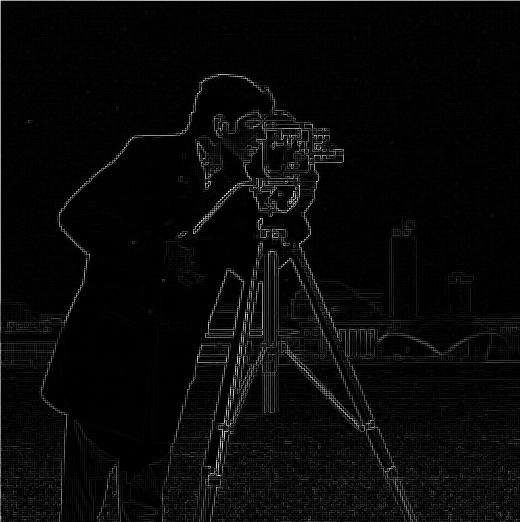
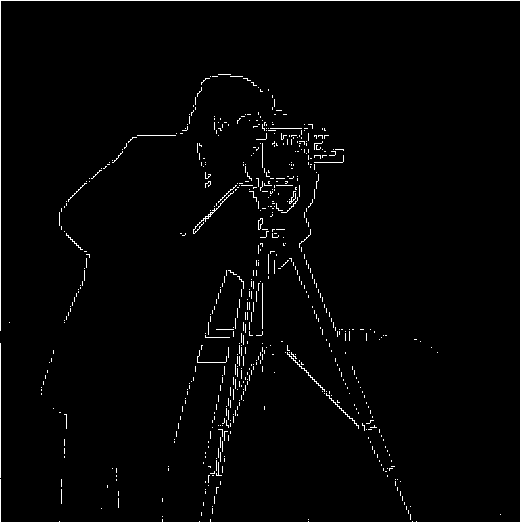
In Part 1.1, we initialize the finite difference operator D_x and D_y. This is relevant because these will help us calculate the changes of intensity throughout the image, which will help us identify the edges. Then, we take our image and apply the convolutions in the x and y directions and calculate every point’s magnitude to help us get the aforementioned intensity measurements. Finally, to get the edges, I qualitatively tested different thresholds until I got one that minimized noise and just the cameraman.
 Dx
Dx
|
 Dy
Dy
|
 Magnitude
|
 Binary Image
|
Part 1.2: Derivative of Gaussian (DoG) Filter
In Part 1.2, I used a Gaussian filter to create a blurred version of the image and repeated the procedure from Part 1.1. The key differences were that the initial blurring suppressed a lot of noise without messing up edge detection and the edges were more boldly outlined.
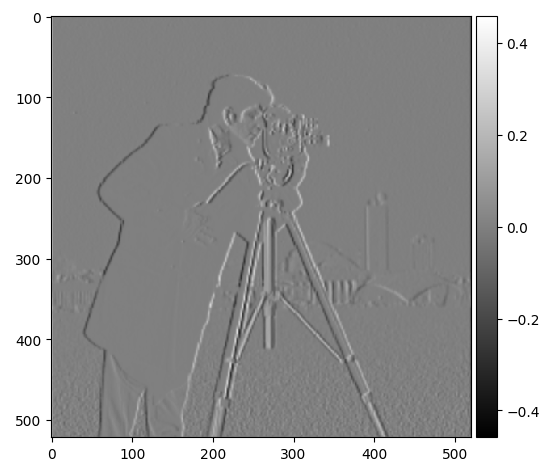 Dx
Dx
|
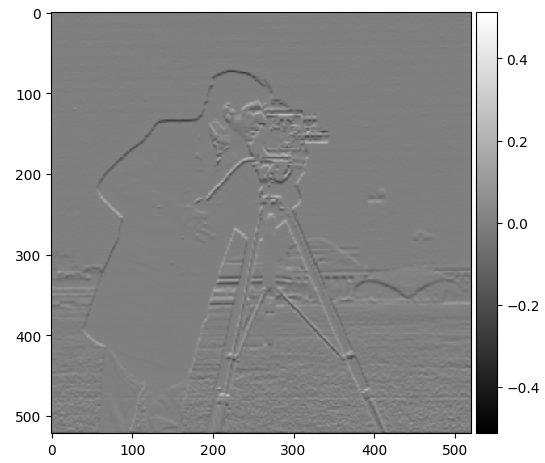 Dy
Dy
|
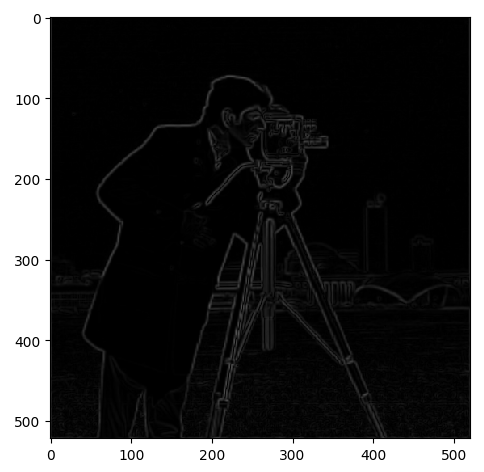 Magnitude
|
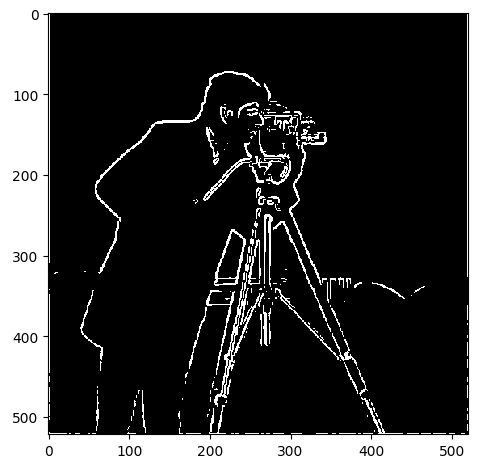 Binary Image
|
Next, I tried to accomplish this with a single convolution by using a derivative of Gaussian filters. The outcome was the same as before.
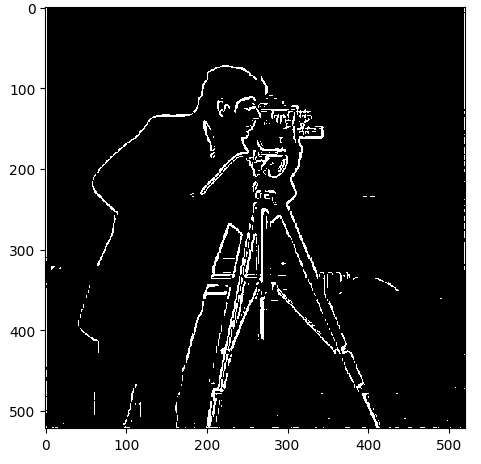 Single Convolution Result
|
Part 2: Fun with Frequencies!
Part 2.1: Image "Sharpening"
In Part 2.1, we aim to sharpen a blurry image. To sharpen an image, we need to take advantage of its high frequencies. This can be done by running an image through a low pass filter and then subtracting it from the original image. We take these high frequencies and amplify it so that the image appears sharper. Because this is a RGB image, we apply this sharpening filter to each layer and combine it all at the end.
Then, I uploaded an image of a bird, with very sharp outlines, to see what would happen if I took a sharp image, blurred it, and then sharpened it. The result was that the resulting image was a bit blurrier than the original. In the initial process of blurring, some fine details were lost and could not be recovered.
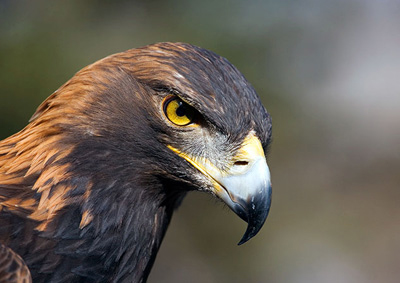 Original
|
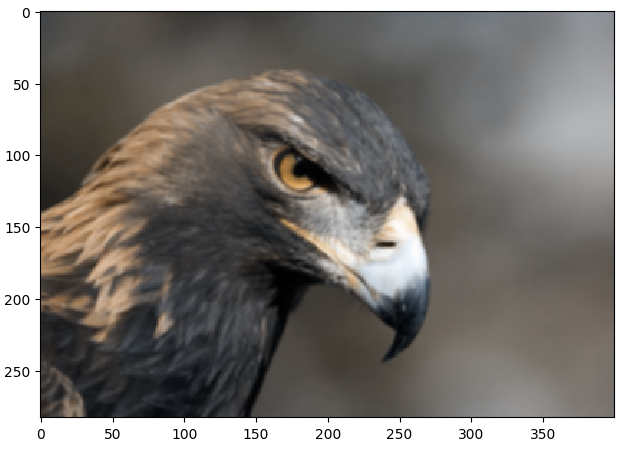 Blurred
|
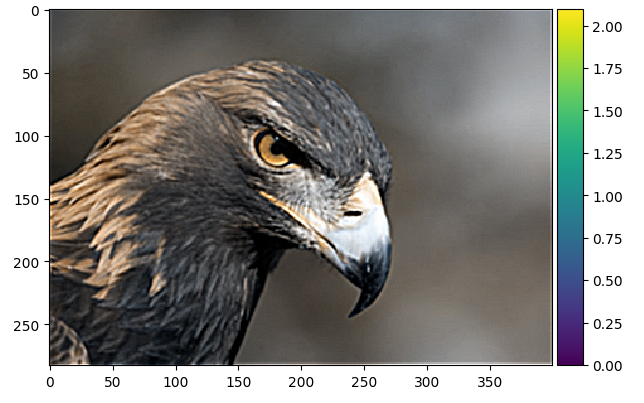 Blurred, Sharpened
|
Part 2.2: Hybrid Images
In Part 2.2, the goal is to create hybrid images by combining the high frequency portions of one image and the low frequency portions of another. Depending on the distance we end up looking at the final image, different parts will be highlighted and viewed. First, we must identify the points to align each image. For example, the cat image was roasted and the human face was not. For that combination of images, I chose to use their eyes for alignment. For the other ones, I picked the left eye and chin. Then, I used a Gaussian kernel to convolve the images and get its high and low frequency portions. Those portions are then combined to form the final image.
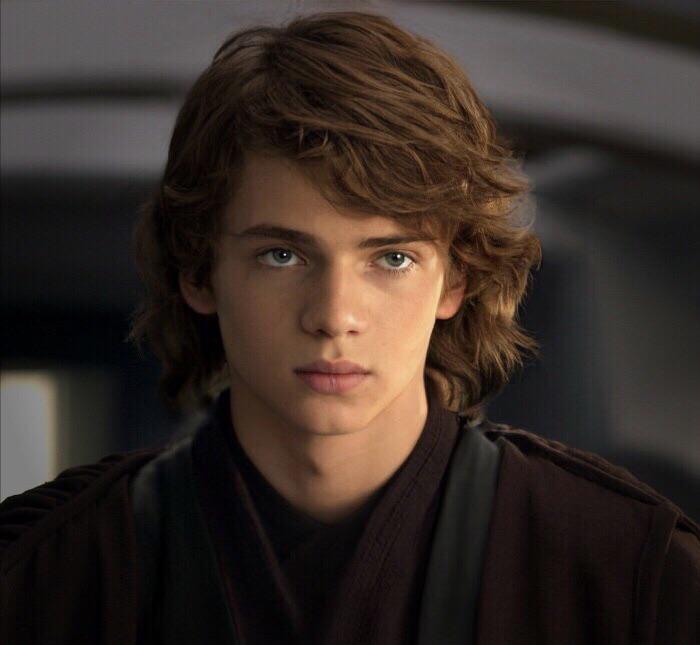 Anakin
|
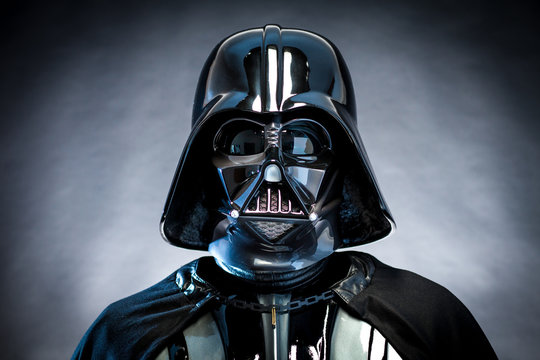 Darth Vader
|
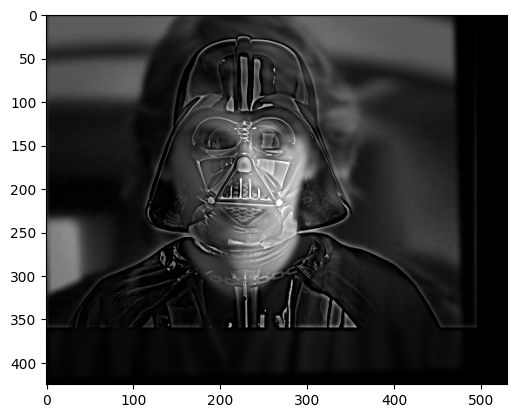 Combined
|
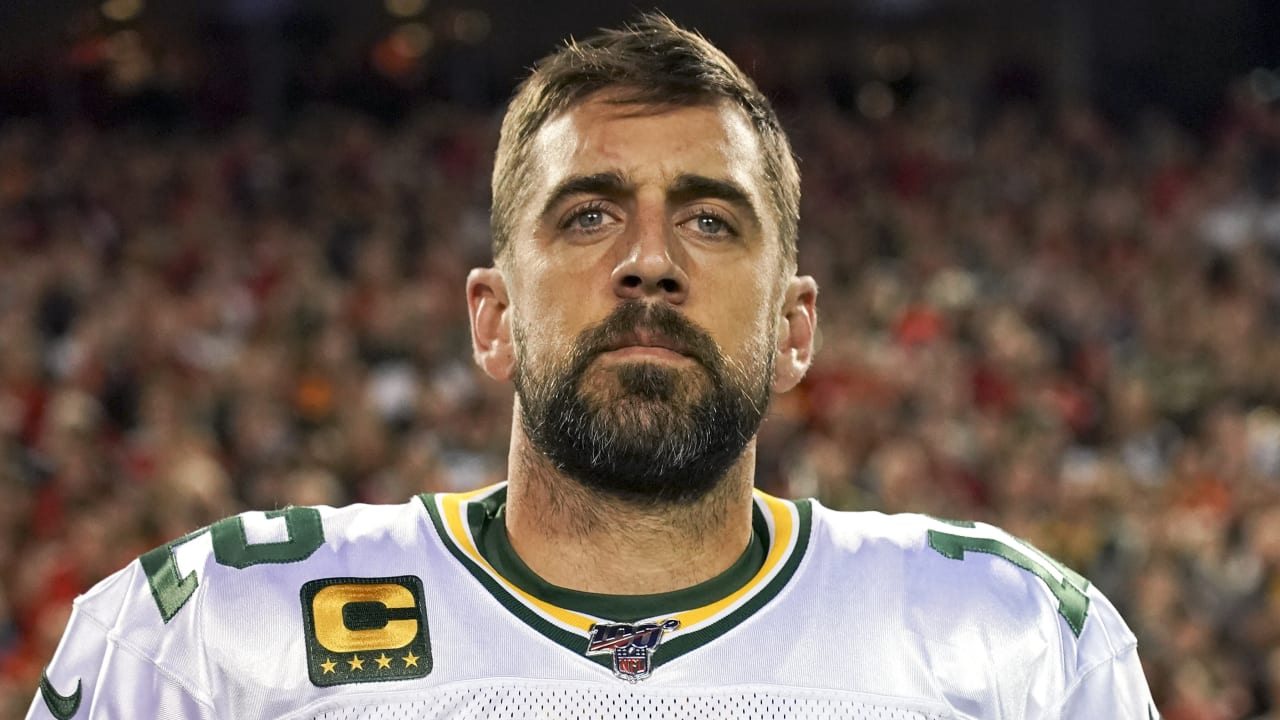 Aaron Rodgers
|
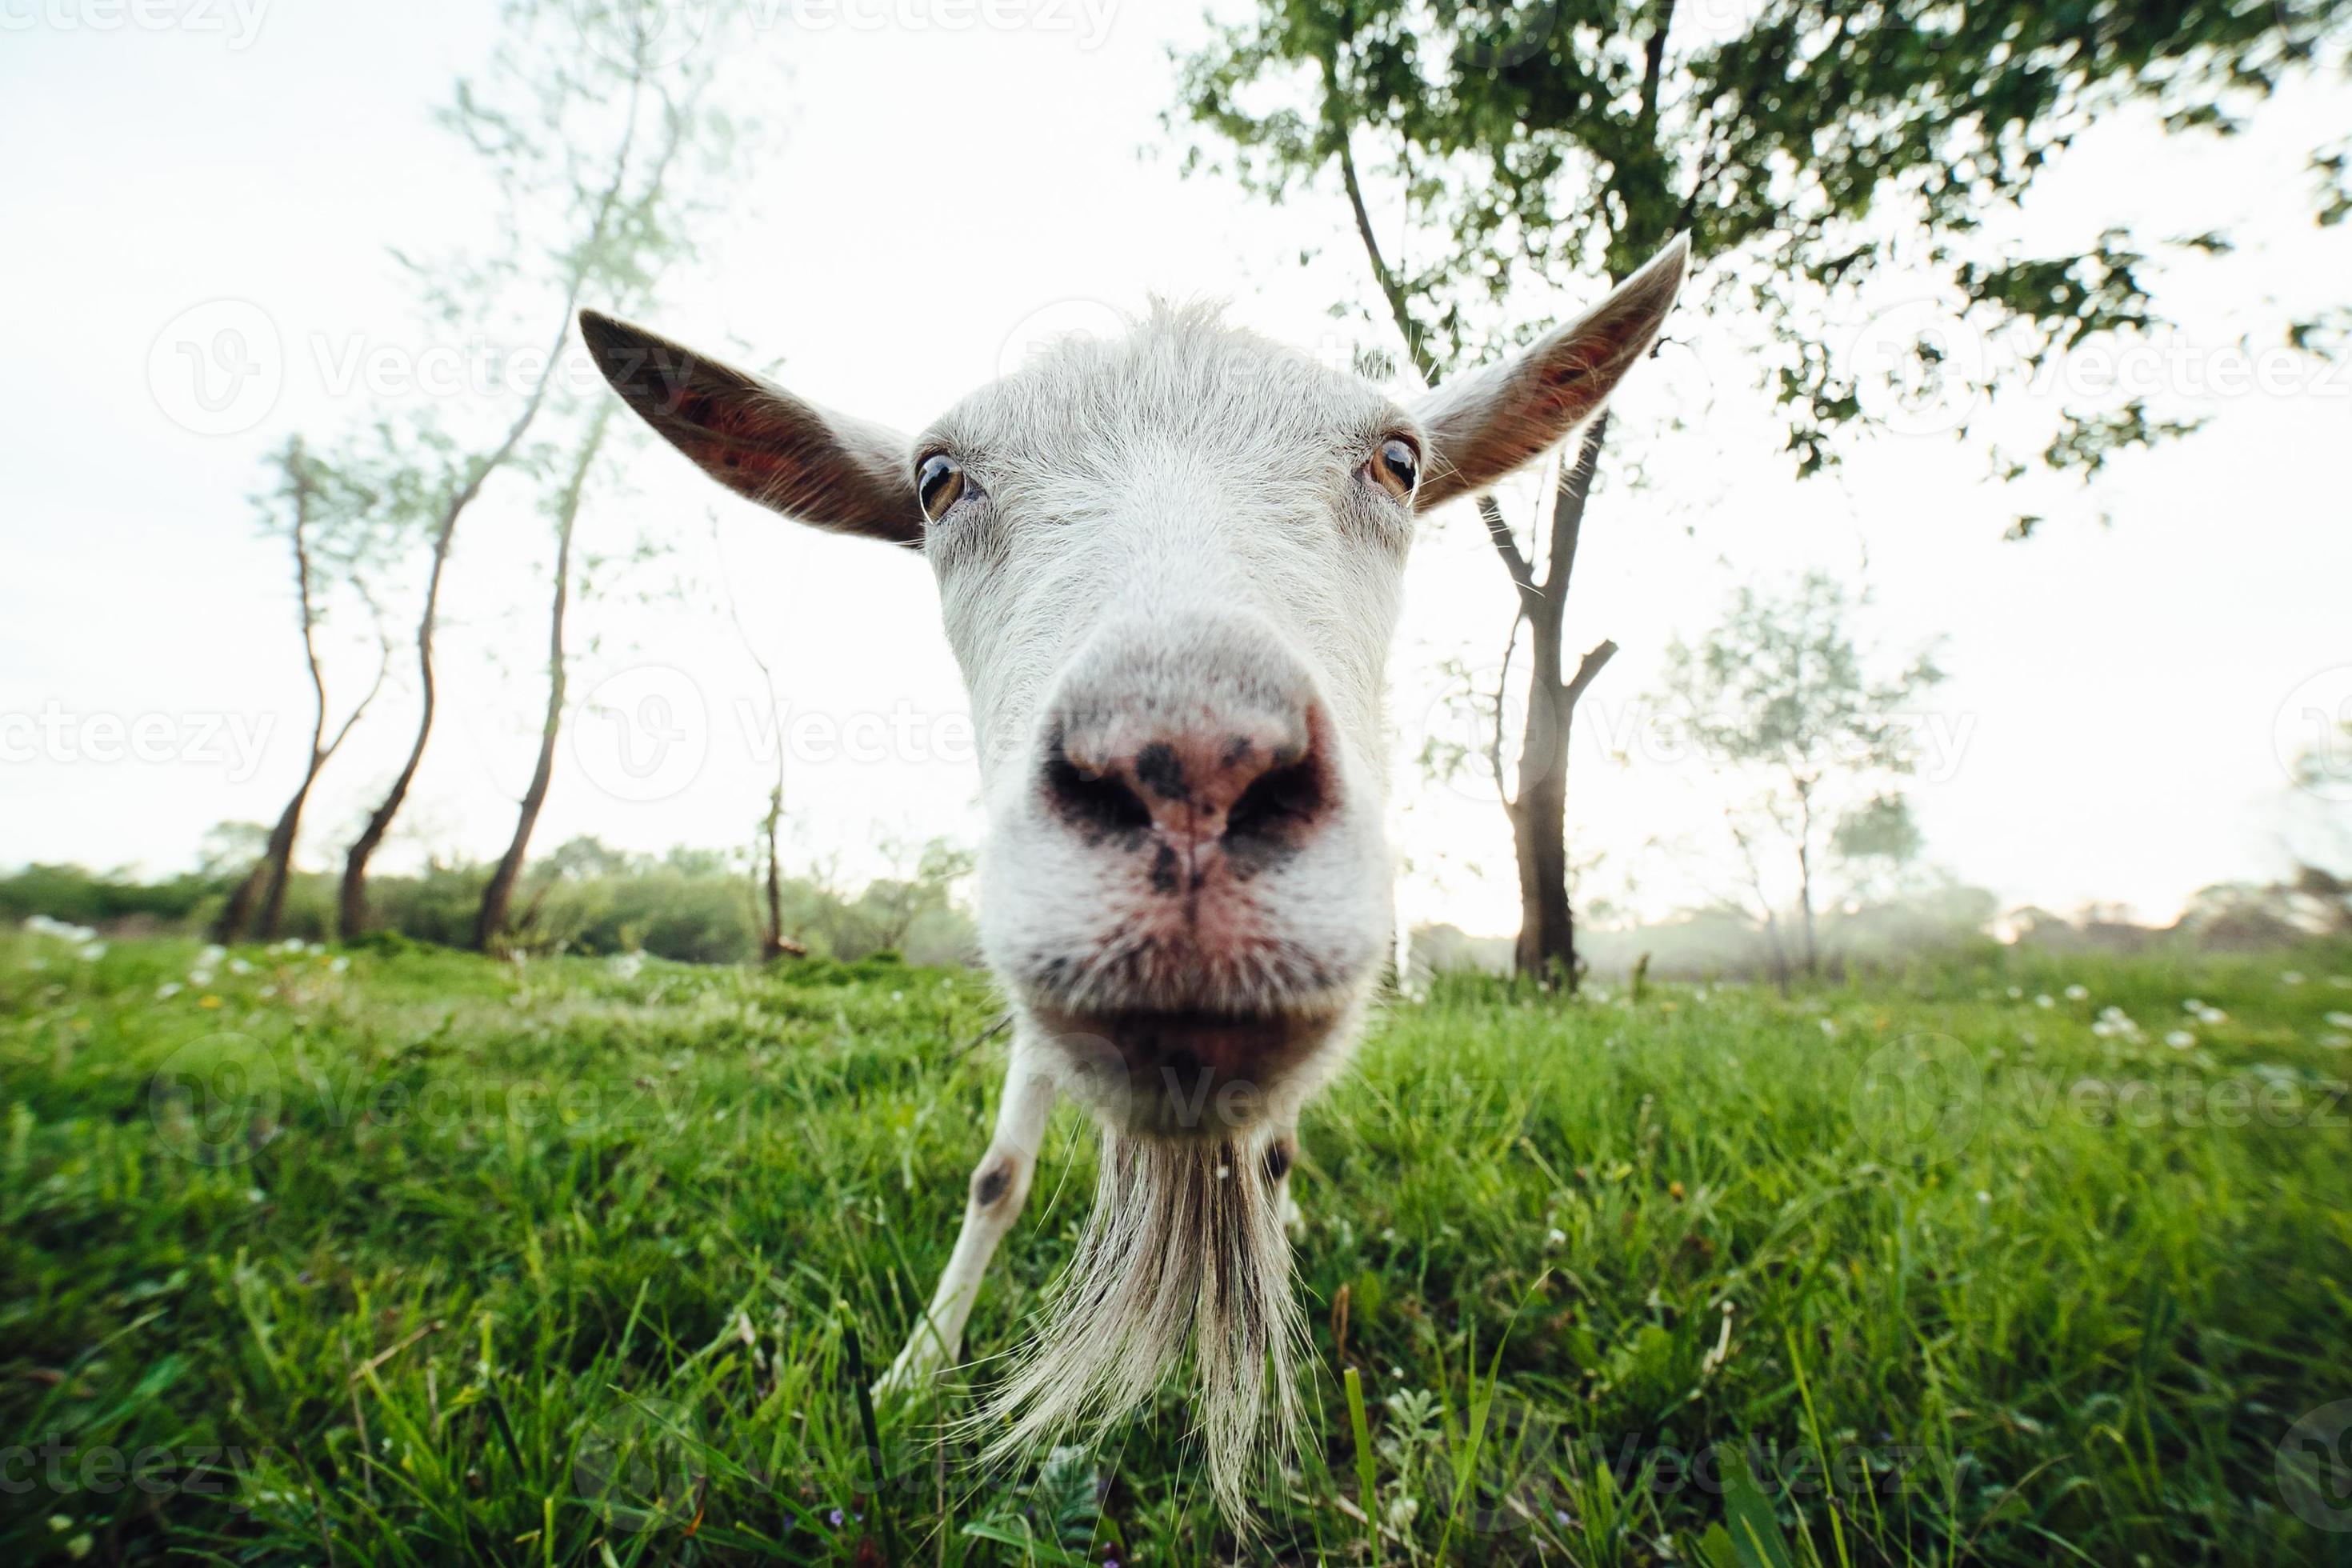 Goat
Goat
|
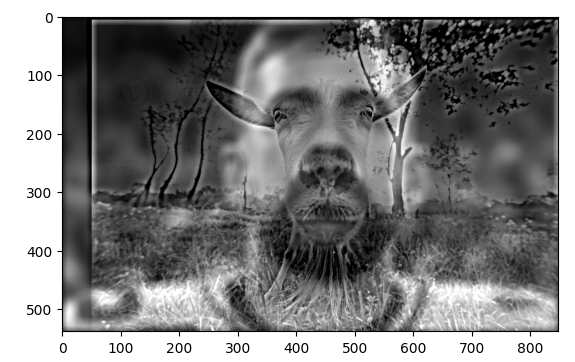 Combined
|
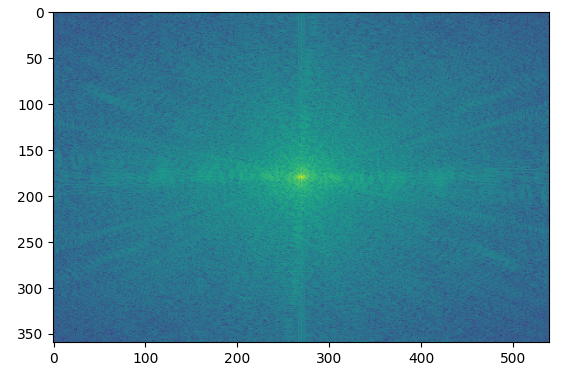
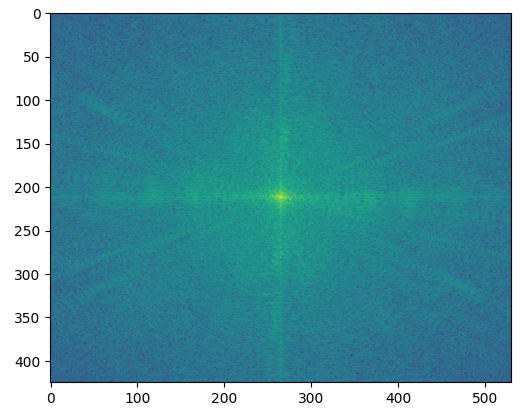
I chose to show the 2D fourier transform with the Anakain/Vader pictures.
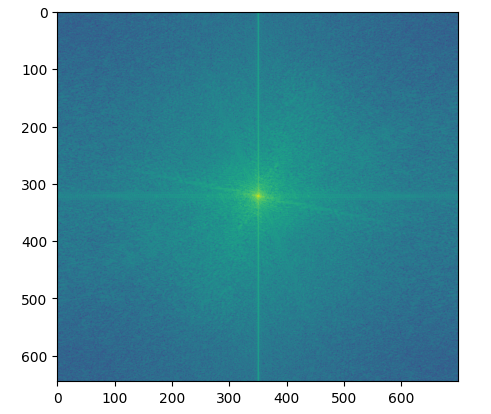 Anakin Input
|
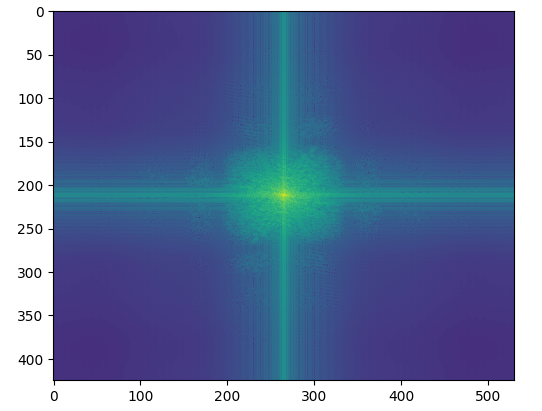 Anakin Filtered
|
 Vader Input
|
 Vader Filtered
|
 Hybrid
|
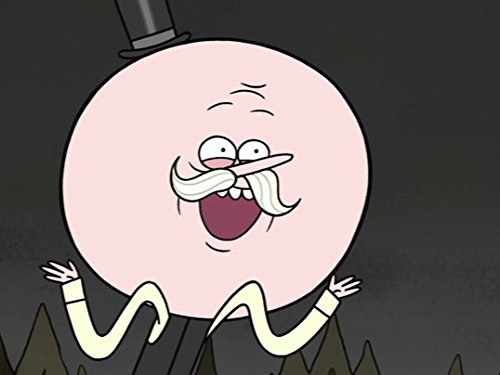
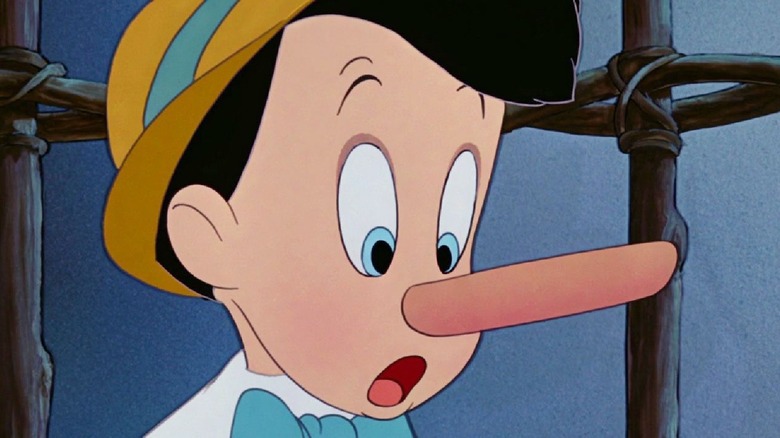
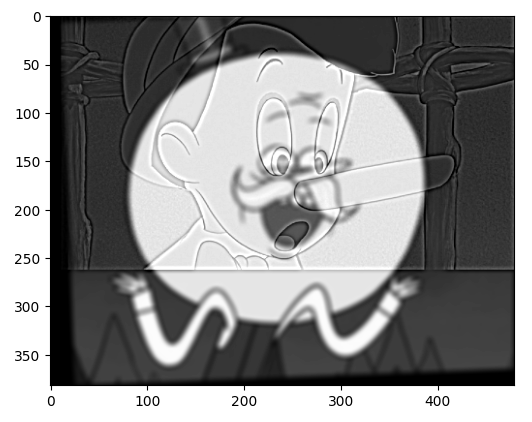
This was a failiure because Mr. Pops' head is way too big compared to Pinocchio's. After some trial and error, I was able to align their eyes such that Pinocchio's nose looks like Mr. Pops'. But since one face is so much bigger, this hybrid image does not work.
 Anakin Input
|
 Anakin Filtered
|
 Vader Input
|
Part 2.3: Gaussian and Laplacian Stacks
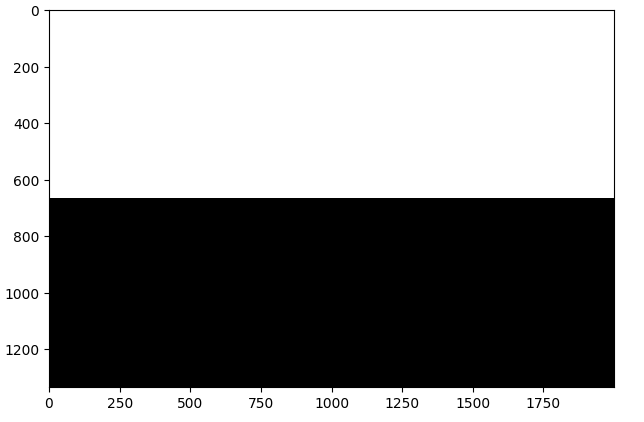
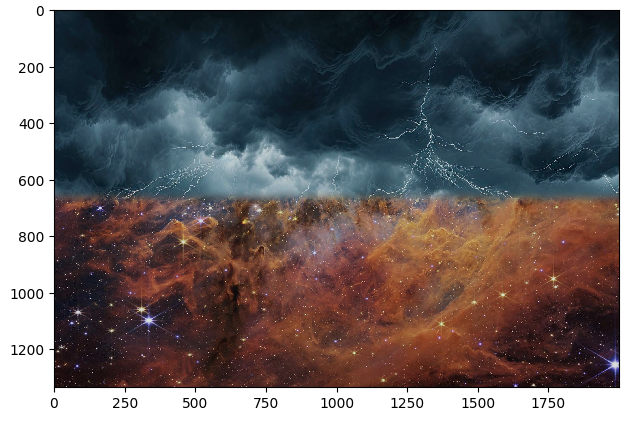
In Part 2.3, I had to create my own Gaussian and Laplacian stacks and blend together two images with the help of these stacks. To create my stacks, I started by creating a Gaussian stack starting with the original image and creating a Gaussian kernel and convolving with it for all layers of the image. Then, I subtracted the most recent Gaussian value with the last one and continued doing so to create my Laplacian stack. To blend images, I got a Gaussian and Laplacian stack for the apple and orange, as well as created a vertical mask, which is half black and half white, and calculated its Gaussian stack. I kept track of my blended sum and at every depth level, I added the product of the current mask’s Gaussian layer and one image’s current laplacian level, as well as 1 minus the current mask’s Gaussian layer and the other image’s current laplacian level. I picked which one to multiply by based on which side was black and white. I kept a running sum and at the end I did the same process to the last Gaussian layer and added it to my final sum. I made sure to clip my values to make sure all the numbers were valid to output.
.png) Level 0
Level 0
|
.png) Level 2
Level 2
|
.png) Level 4
Level 4
|
 Orapple
|
Part 2.4: Multiresolution Blending
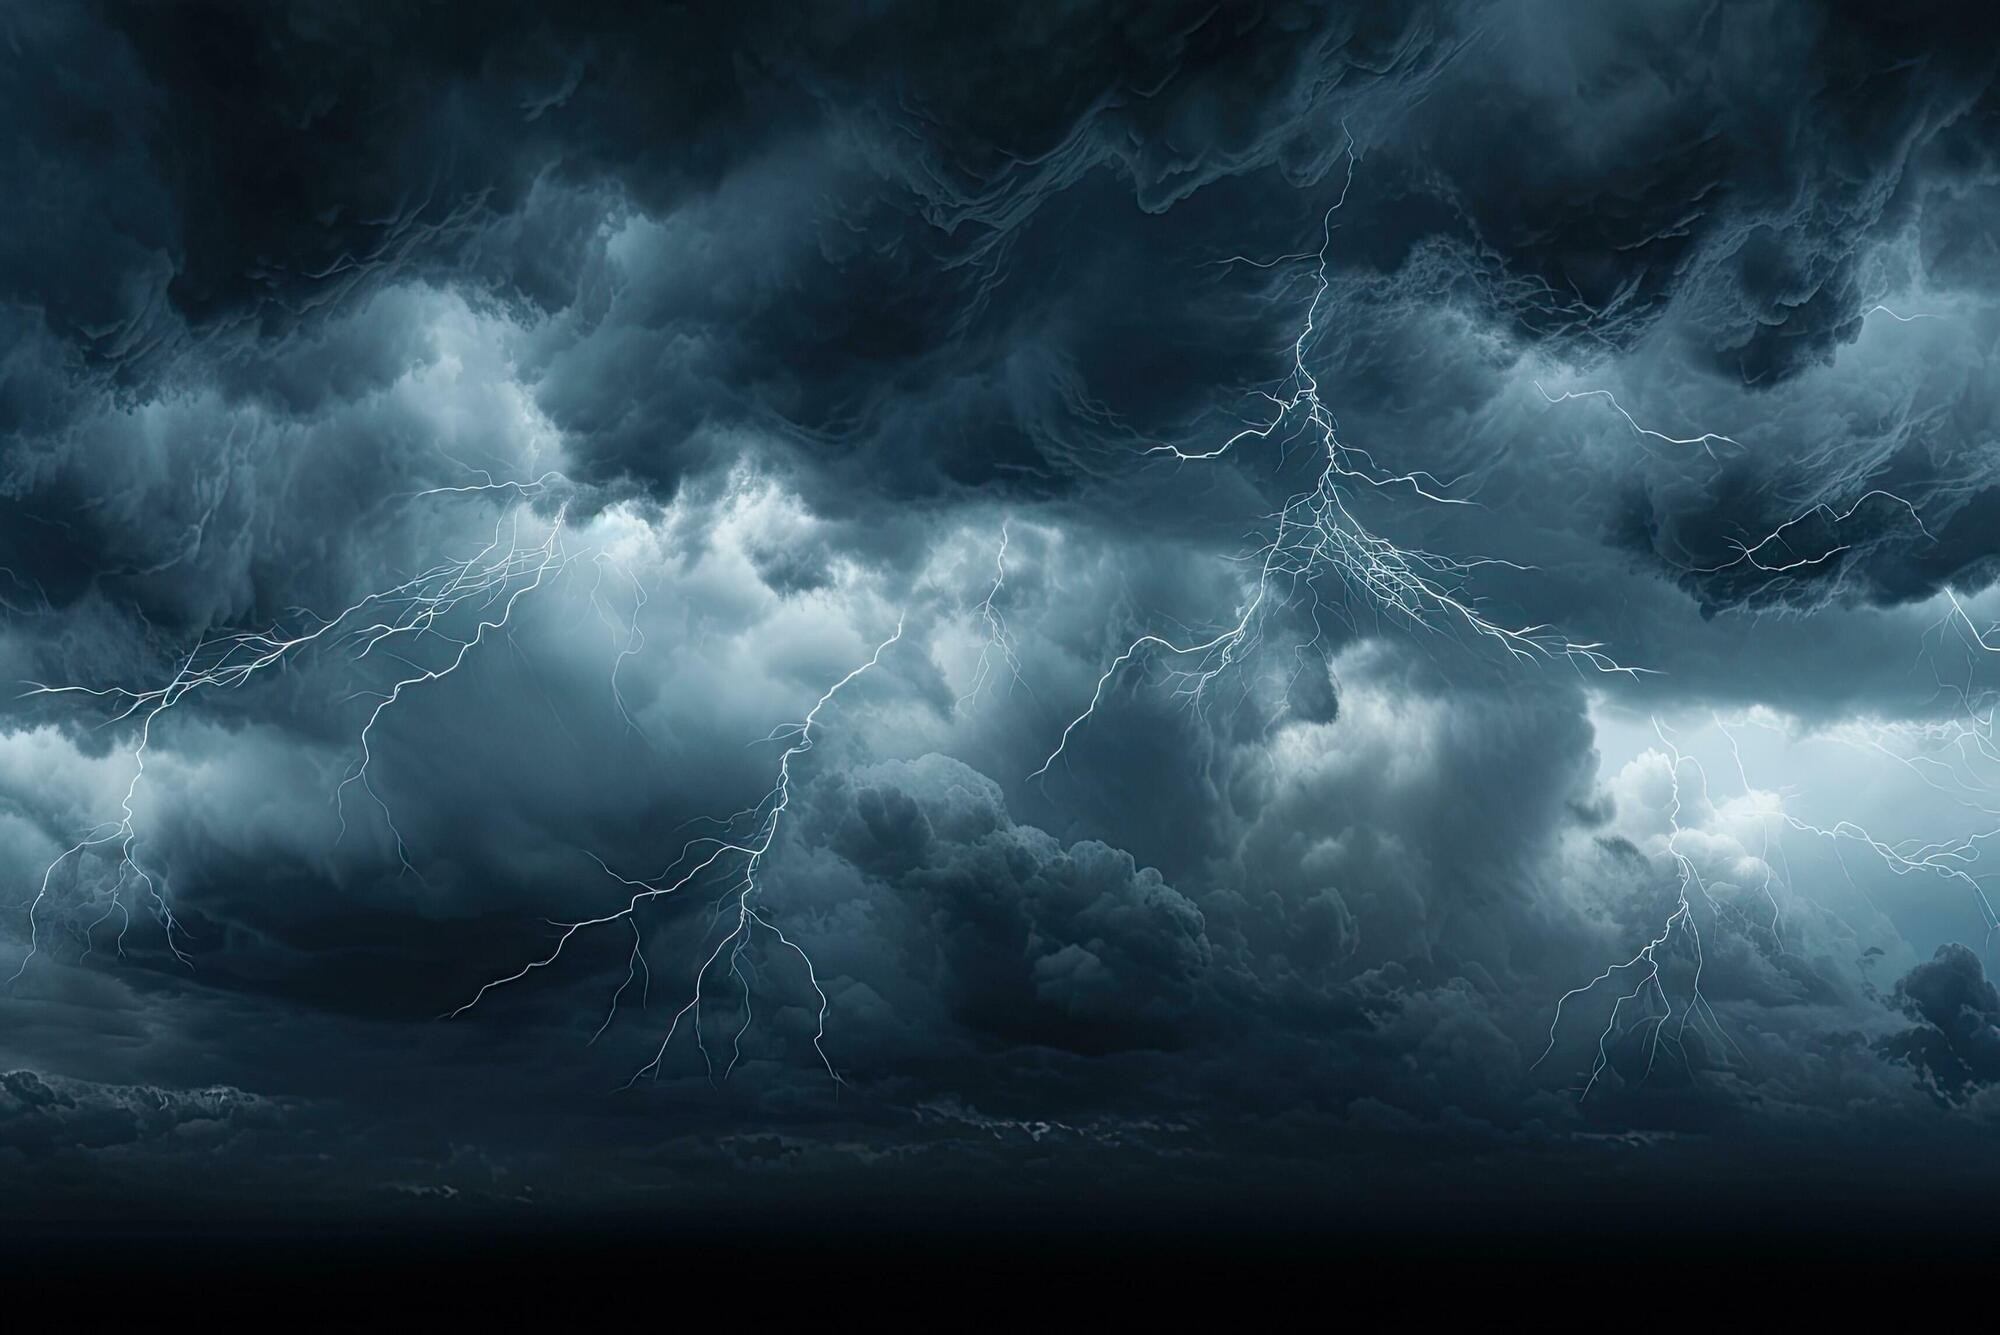
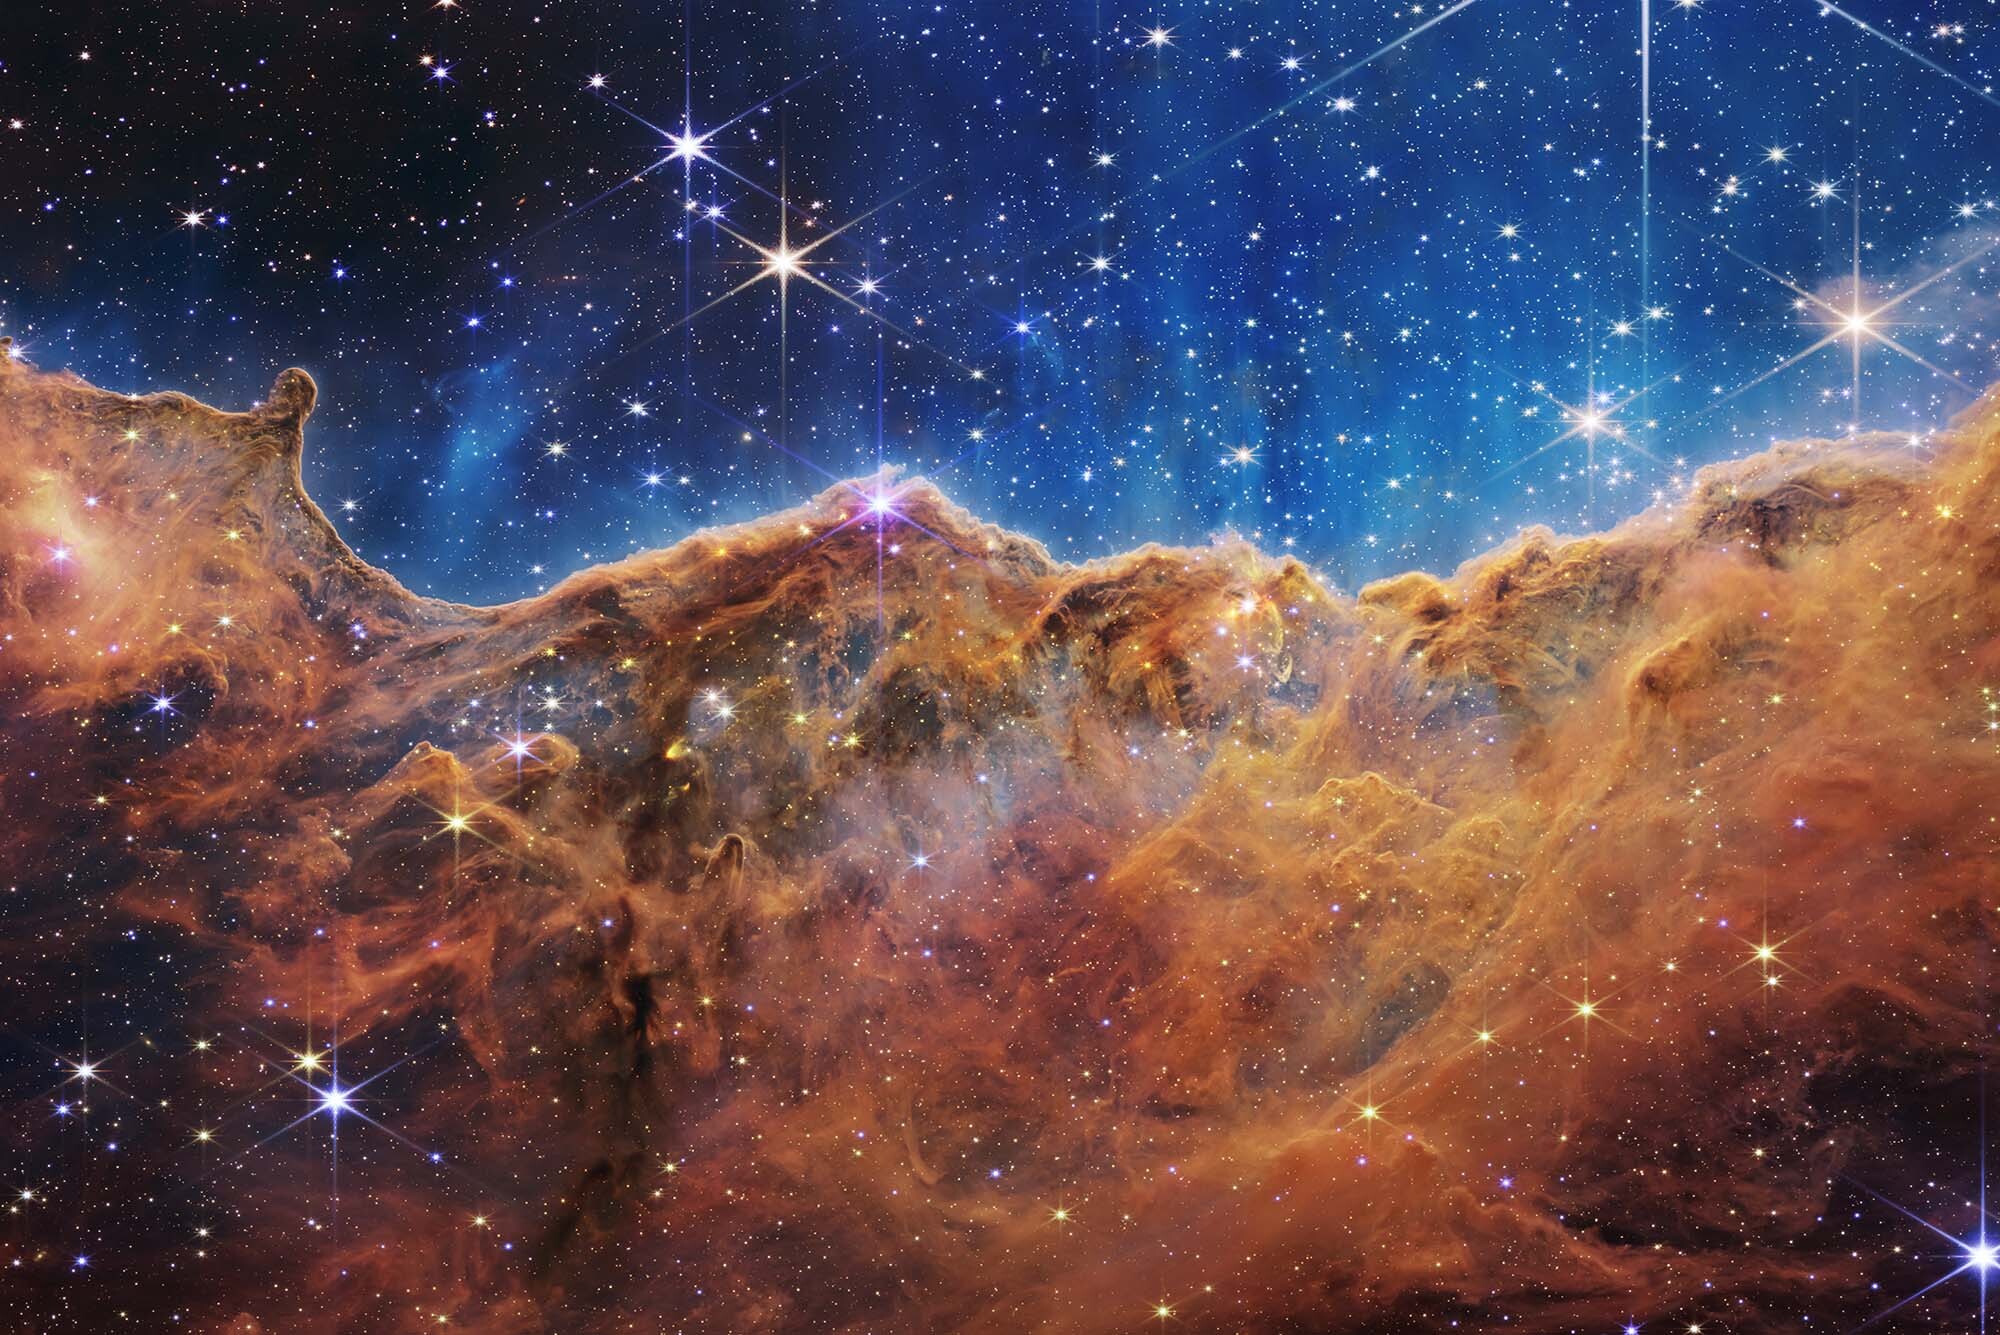
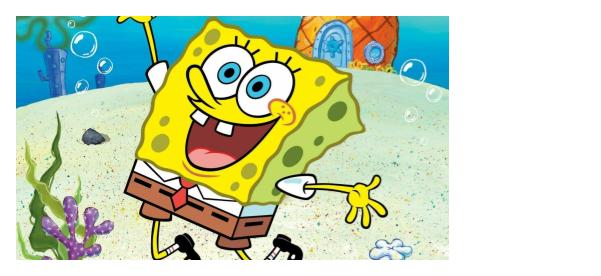
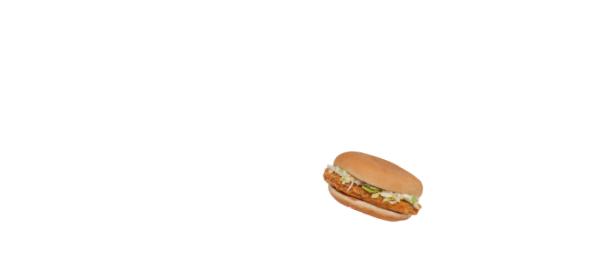
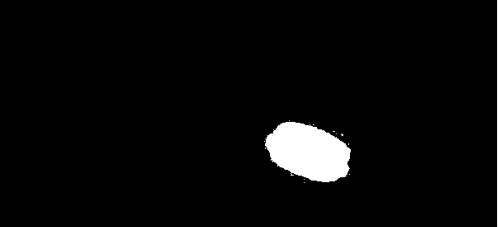
In Part 2.4, I used all my logic from Part 2.3 with a little tweaks. The code from Part 2.3 works successfully to create the orapple, but that uses a trivial vertical mask. In one of my test cases, I try to put McChicken on Spongebob's hand. This required me to first create an irregular mask which highlights the sandwich as white and the rest black. One error I ran into was not adding the blended sum properly because I was multiplying the wrong, switched mask values with their laplacian values, leading me to only see the sandwich. After fixing that I got the right result.
 Storm
Storm
|
 Space
Space
|
 Mask
Mask
|
 Spongebob
|
 McChicken
|
 Mask
Mask
|
 Space Storm
|
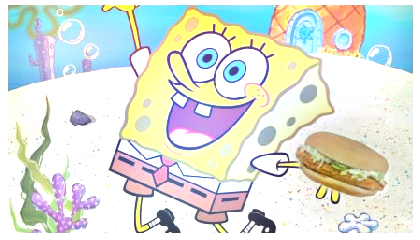 Spongebob Enamored by McChickenh
|


.png)
.png)
.png)
